Cinematic Post Processing Tips & Tricks in UE4: Part 1

Hi all, for the last year or so I have been refining my workflow for rendering from Sequencer and Movie Render Queue to produce the most visually appealing screenshot and video renders possible. I have tried many methods to achieve certain effects, and some worked while others did not. I will be going over my findings and how to achieve everything, as well as alternatives!
When making a project, especially something that will have shots in Sequencer, I try to use CineCameraActors. These cameras have a broad array of adjustments you can make to emulate cinema cameras, or even DSLRs if you really wanted to. I am a huge fan of watching and making films, so I have developed preferences over time of what camera/lens setups I prefer for a given mood or feel of a project.
Now as a disclaimer, none of this is physically accurate in any way and this is purely to get a similar “look” to cinema cameras. All of this is crafted to my own personal preference and none of it are rules in any way!
SENSOR SIZES/ASPECT RATIOS
My default setup is emulating 35mm film in a cinema camera. This is an analog camera, rather than a digital one but i’ll get into that later. What I mean by 35mm is the size of film used in the camera. When film is exposed onto the negative, the negative ends up being a certain size. 35mm ends up being 24mm x 36mm, like this image:

Now to make it even more confusing, since Unreal Engine is a digital medium, not analog, we need to translate that to sensor size in our camera settings. Luckily, it translates over perfectly because digital sensors are around the same size as 35mm film. This means a 24mm x 36mm sensor size would be what we put into the sensor width and height.
There are tons of options for aspect ratio, and it all comes down to preference. Here is a diagram of different common aspect ratios and sensor sizes as well, hope you find it useful and feel free to research what cameras and sensor sizes your favorite films use!

Source: https://neiloseman.com/aspect-ratio/

Source: https://vmi.tv/blog/learn-help/guide-to-sensor-sizes-and-lens-formats/
Also, here is a handy website I use often to figure out exact resolutions for what my targeted aspect ratio would be.
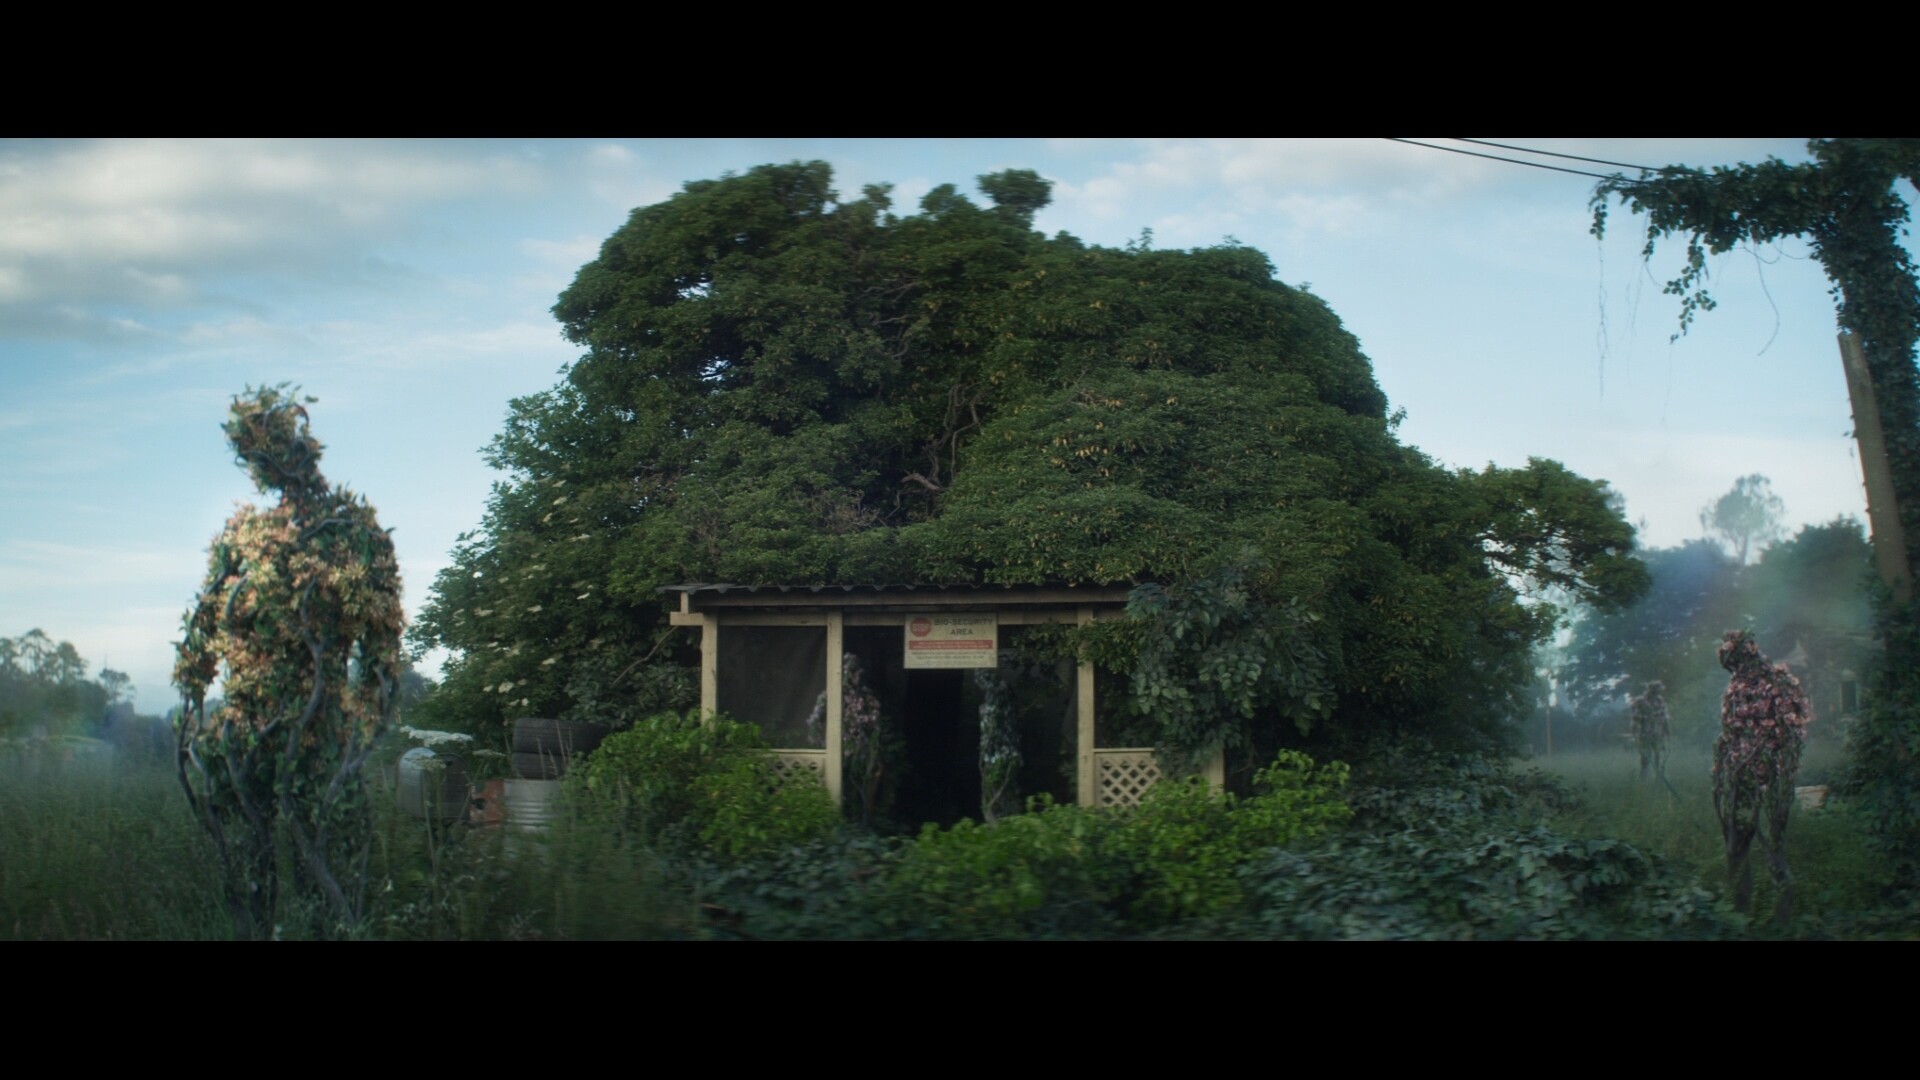
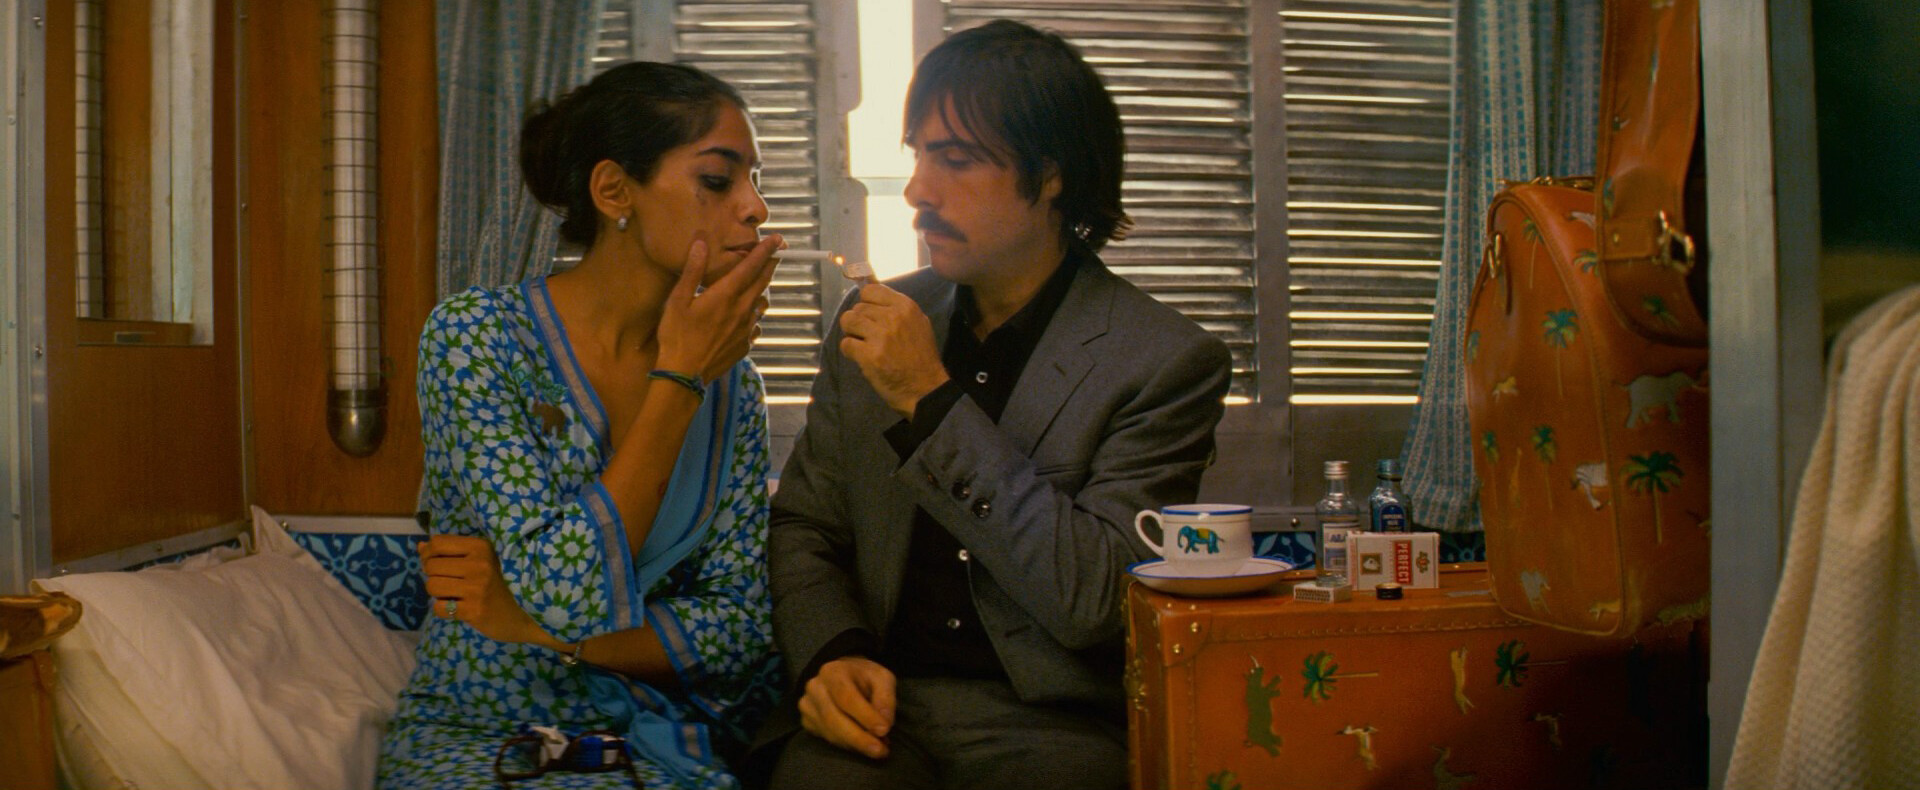
Personally, I always go for a widescreen presentation with my projects, meaning I use either a 2.35:1 or 2.39:1 aspect ratio.
A few films that use 2.35:1 aspect ratio are:
Blade Runner (1982 Dir. Ridley Scott)


Ex Machina (2014 Dir. Alex Garland)


As you can see, even just the aspect ratio can really add a cinematic element to your work!
These stills were taken from Shotdeck, it’s an amazing website you should check out!
Also here are a few more resources about cinematography and shots from films:
For this demonstration, we are going with a 2.39:1 aspect ratio, which means that we need to do some basic math! (I hate math)
So, if we think of it like this: 24mm is height, and 36mm is length (this is the size of a 35mm negative)
In terms of aspect ratio the height would be 1, and the length is 2.39, then we can assume that:

Now for the math: Since we want to preserve the horizontal width of the negative as that is something that doesn’t change with 35mm cameras, we will be doing this:
Width: 36mm (this does not change)
Height: 36/2.39 = 15.06mm height
Here it is plugged into the CineCameraActor.

Close enough!
And there we go! Now that you have the sensor size set, we are moving on to what lens sizes I choose and why.
LENSES

For lenses, I choose to emulate cinema lenses, whether that be spherical or anamorphic lenses. (More on anamorphic lenses later).
This usually means that they are prime lenses, or lenses that have one focal length that doesn’t change. My usual “kit” I go with is:
- 14mm f/2.8
- 25mm f/2.8
- 35mm f/1.4
- 50mm f/1.2
- 85mm f/1.4
These aperture values are meant to be in the ballpark of what actual aperture values you would get for how wide a lens is and are not physically accurate in any way.
Having this digital “kit” of lenses limits me in a way where I get a consistent look throughout my cinematics and environment screenshots. They all feel like they belong together being all from the same kit.
You can change the focal lengths and aperture values here in the CineCameraActor:

Small thing to note about these cameras, the default min aperture is 1.4, and you can override this here:

I set mine to .1 (which doesn’t exist in real life) because it can lead to some interesting beautiful bokeh opportunities!
Now that I have my kit of lenses, I then build my environment as having a focal length in mind from the beginning helps me get a better feel for the scale of a space and what camera shots I plan to make for the cinematic.
FILM GRAIN
Since I almost always try to emulate 35mm film for my projects, that usually means I need a method to add organic grain to my renders. I have tested multiple solutions to this, with varied results, and here are my findings.
The best method I have come across is a bit of a cheat, and is only useful if you plan on doing any color grading or editing with your exported video from Unreal. My favorite and most effective workflow so far involves color grading in Premiere Pro and adding grain in Premier as well, which brings us to the best method I have found for realistic grain in renders:
FilmConvert Nitrate (Premiere Pro, Davinci Resolve)
This is a plugin for video editing applications that is not cheap - coming in at $139 for the Premiere Pro version I bought.
I am aware this post was meant to be for Cinematics in Unreal Engine, but Post production is something even renders from UE4 need.
This plugin lets you choose between several film stocks, and has a large amount of customizability to how you want your grain to look and behave with shadows, midtones and highlights of an image.
Next option is also a paid post process option that is applied in editing software, but is much much cheaper at $59 and yields great results regardless:
Ezra Cohen’s 35MM film grain overlays in 4k
https://ezracohen.tv/collections/002-texture-color/products/35mm?variant=32340026556509
The version I have is 4k and I feel that is very future proof as I will not be likely to go above 4k in the foreseeable future.
These are overlays that you place over your footage and add grain over top of them. You have much less control but the results look great.
Next up, we have three methods for in-engine grain, two of which does not work with rendering multiple samples in Movie Render Queue and the other that does.
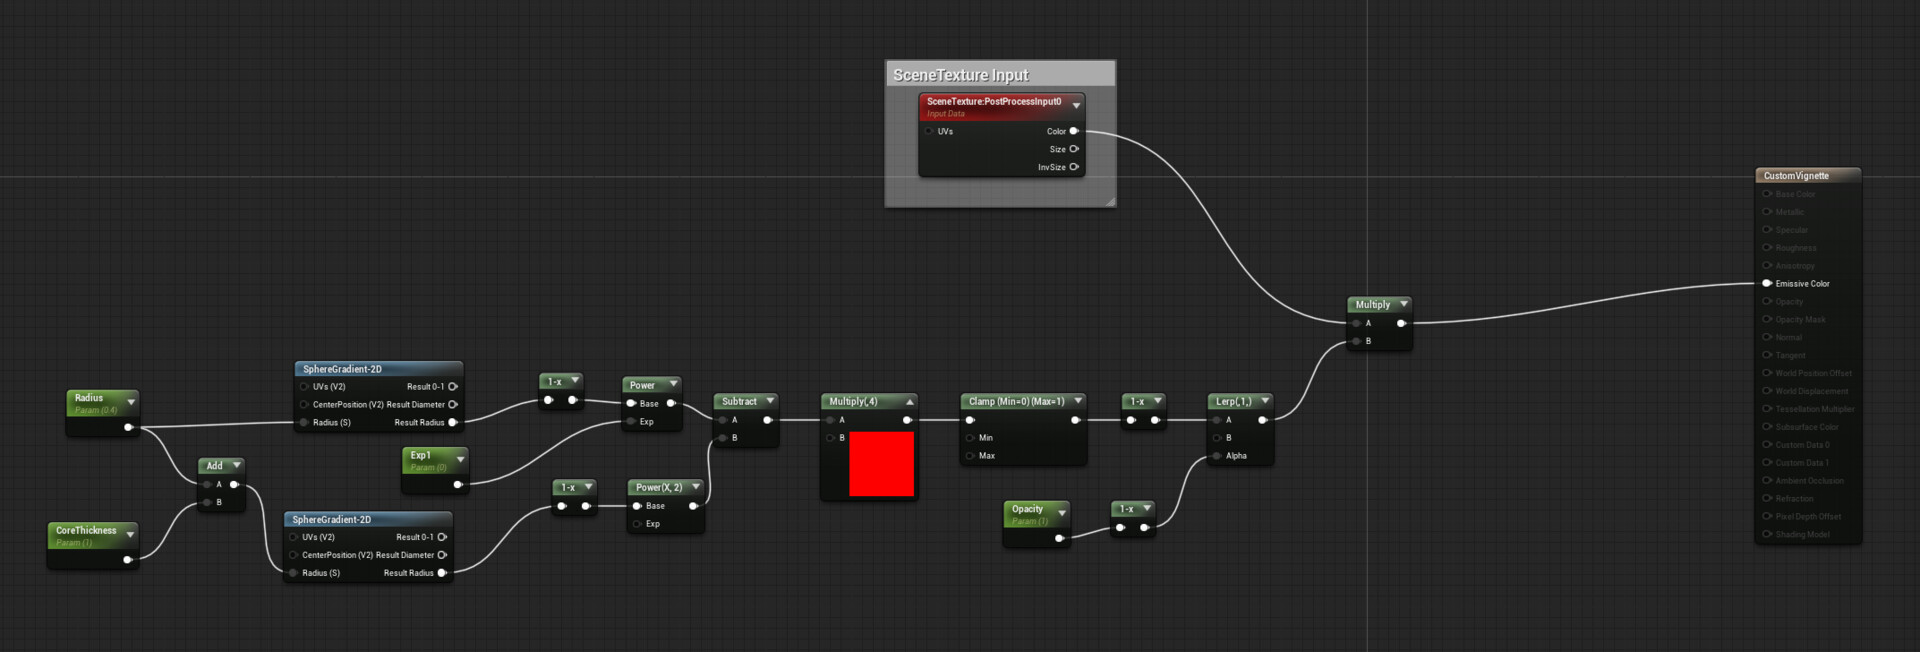
Custom Film Grain Post Process Material - Brian Leleux
Brian was kind enough to show how he made a Post Process Material that uses two tiling noise textures, which can produce some incredible results. This material also includes debug modes to show your highlight and shadow ranges, as well as grain size and if it is color grain or grayscale. Amazing!

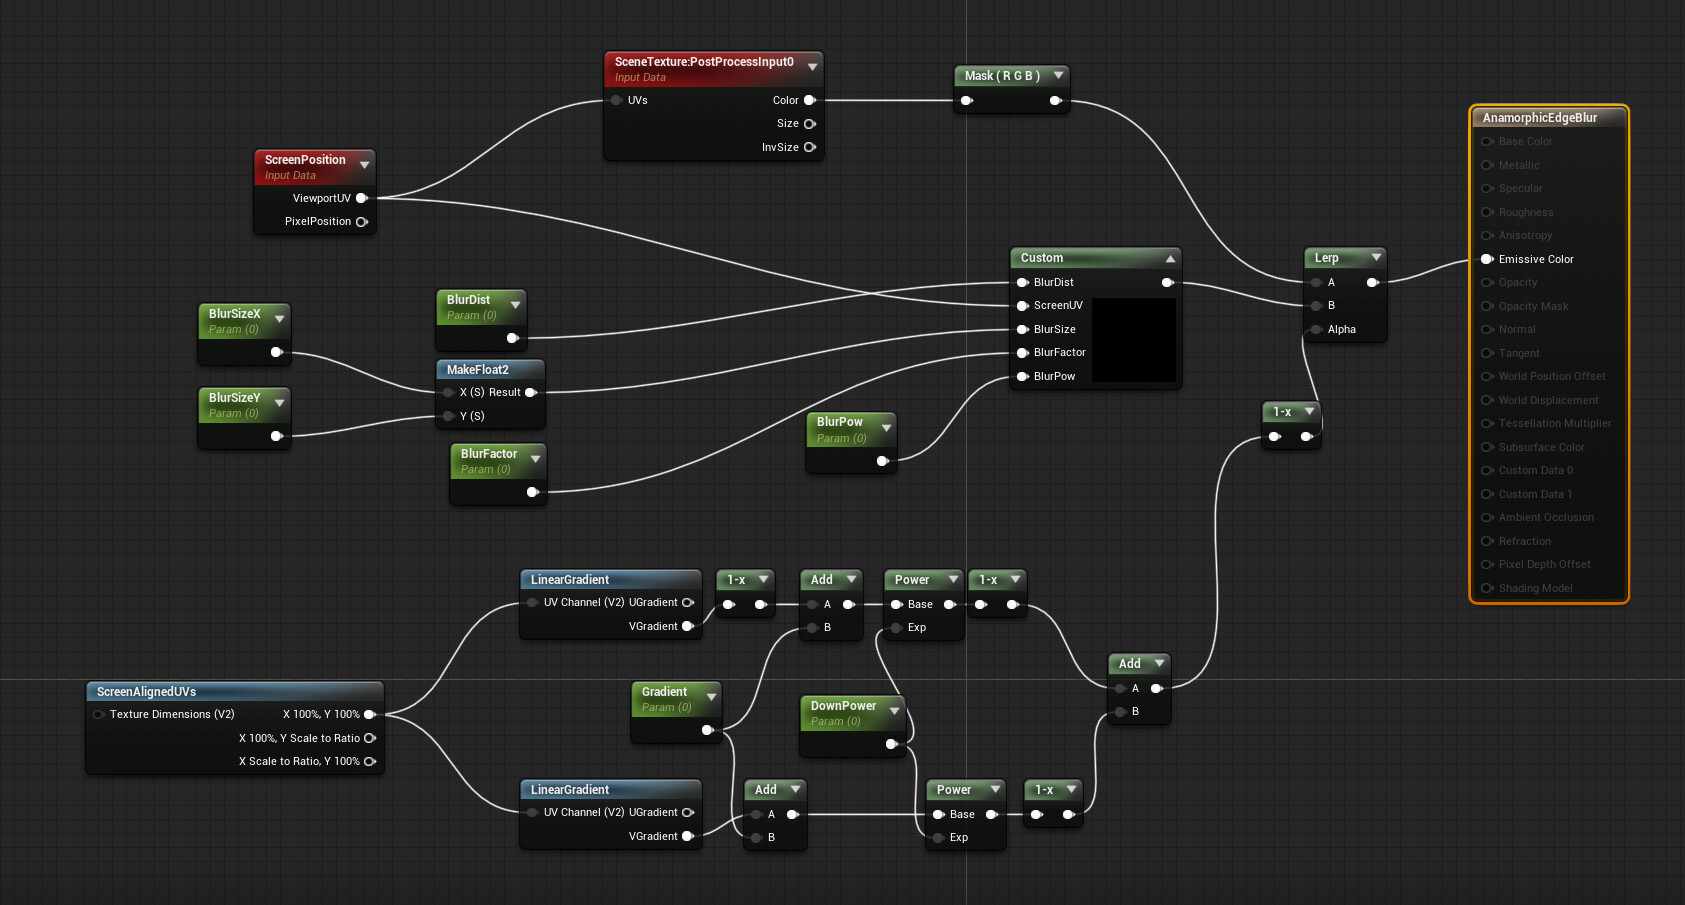
This is what the material looks like.


The only thing you need to find yourself is a 2k or 4k tiling grain texture to input into the material. I ended up using one of the Ezra Cohen grain textures cropped to be square.
Upsides: Looks really good and has a lot of highlight and shadow controls.
Downsides: It doesn’t render in Movie Render Queue with multisampling. Since this material constantly pans the grain around, the grain ends up getting lost when you use any more than 8 samples with no AA in your MRQ settings. This means it would be good for some things, but is not a complete solution.
You can find Brian's portfolio here: https://www.artstation.com/brianleleux
Quixel’s Grain Post Process Material
Another method very similar to Brian’s but a bit different is a method used in Quixel's Rebirth short film, which you can watch here.
Since there is already a tutorial on this, I will just link it with timestamp here:
Quixel Rebirth Film Grain Method
Upsides: Looks great and is customizable
Dowsides: (hasn’t been tested, but will probably not render in MRQ just like Brian Leleux’s grain material)
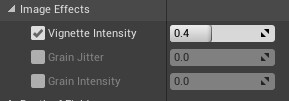
UE4 Default Post Process Volume Grain
And then finally, there is the tried and true method of using UE4’s built in grain method in the PPV. This works very poorly in my opinion, but at least it renders in MRQ which makes it useful at least.

And finally, here are all of the different film grains side by side!

And that is it! Hope you learned something from this first blog post! Due to the 20,000 character limit on AS Blog posts, I have to cut this off here.
There is a part two you can find on my Artstation Blog as well, I will be posting both at the same time.
Knight Model by The Royal Armoury (Livrustkammaren) on Sketchfab found here:
https://sketchfab.com/3d-models/the-parade-armour-of-king-erik-xiv-of-sweden-bd189bba7d9e4924b12826a6d68200d9
As a bonus, here are some resources for learning more Cinematic techniques in UE4:
Quixel Youtube Channel - Environment Art, Cinematics, and Asset Texturing info
CinematographyDB - Virtual production in UE4, cinematography and more, run by Matt Workman
And most importantly, check out EXP Points! It's a great Discord community that I have learned tons from in the last few years.